13
The Radio:
Surrealism and Spiritualism
04.11.2024 ~ 10.11.2024
Two Entries
This week, I started working on two new experiments. The first experiment uses an Arduino radio to pay homage to themes related to spiritualism. The second involves a led cube, which was meant to be the “physical setup with non-screen-based yet digital visual effects” that I wanted to tick off on my checklist. Although they are far from polished, it will do as part of the experiments.
Surrealism and Spiritualism

I've recently been invested in the history of automatic writing, which originates back from the 19th-century Spiritualist movement. The movement gained momentum in March 1848 when the young Fox sisters claimed to communicate with spirits using a system of coded knocks. This method sparked widespread interest and led to the creation of devices like planchettes and Ouija boards for that practice.
It is surprising to see that spiritualism served as a platform for radical politics by advocating for women's rights, abolition, suffrage, and other social reforms. The mediums, often women, were perceived as conduits for messages from a spiritually elevated "elsewhere." This perception allowed them to express ideas that might have been suppressed or dismissed if perceived as originating from the women themselves.
Spiritbox
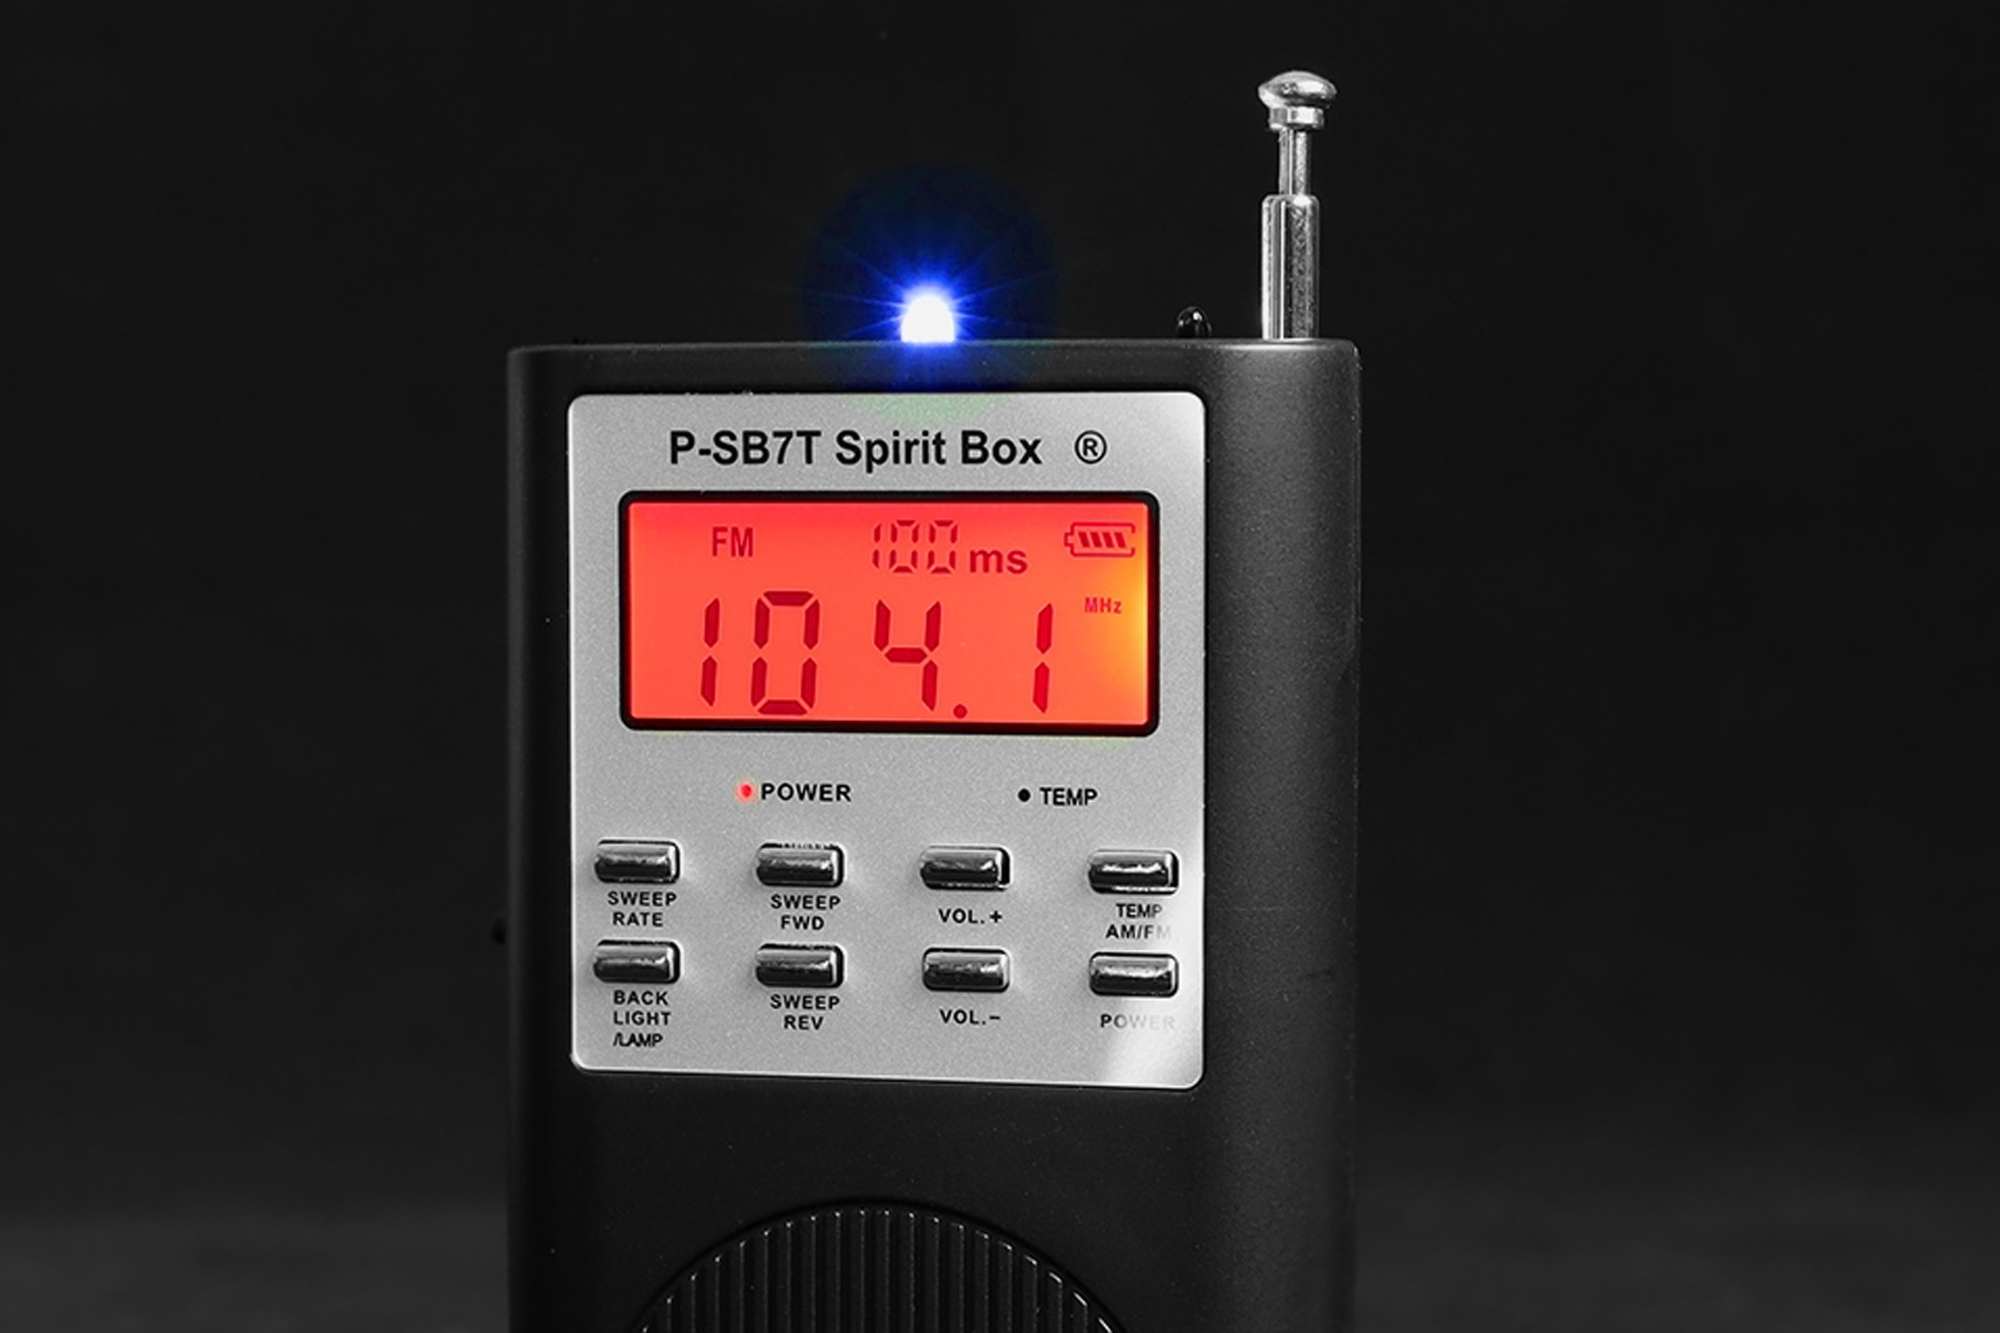
Exploring the use of modern machines in spiritualism brings us to the spirit box, a device commonly used in paranormal investigations that scans radio frequencies to produce a stream of white noise. This concept harks back to the 19th-century spiritualist movement, where mediums employed tools like the Ouija board and planchette to communicate with what they believed were spirits. The modern spirit box, however, traces its more direct origins to mid-20th century pioneers like Friedrich Jürgenson and Konstantin Raudive, who explored Electronic Voice Phenomena (EVP).
Jürgenson, a Swedish painter and filmmaker, discovered unexpected voices in his audio recordings during the 1950s, interpreting these as spirit communications. Following his findings, Raudive, a Latvian psychologist, conducted extensive EVP experiments, publishing a detailed account in his book Breakthrough, which documented thousands of voices he believed to be messages from beyond.
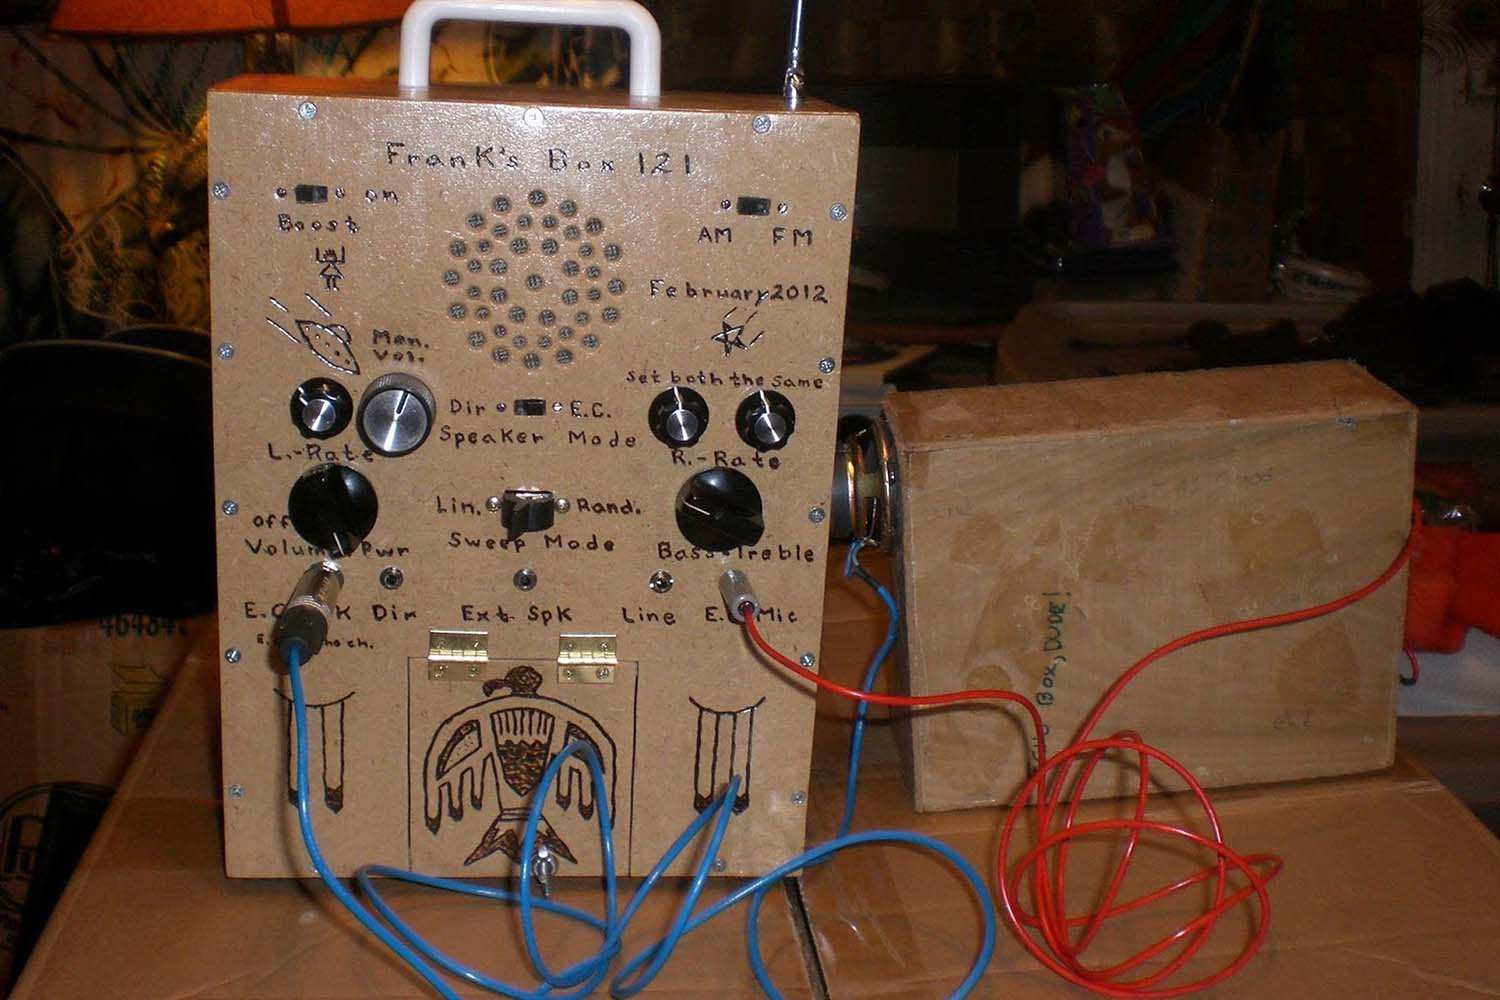
The device underwent significant evolution with Frank Sumption in the early 2000s, who developed the first "Frank’s Box." By modifying radio receivers to sweep through audio frequencies, Sumption's invention tried to make the communication with spirits clearer by providing a continuous stream of audio, preceding contemporary spirit boxes like the popular SB7 Spirit Box. This model, which rapidly cycles through AM or FM stations, has become synonymous with ghost hunting today.
Proponents of the spirit box argue that its dynamic range of sounds offers spirits a "palette" to manipulate, presenting an advantage over static silence which might mask subtle responses. This builds on the premise of EVP research, where inexplicable sounds and voices in recordings were ascribed to spiritual manipulation of electronic devices. The spirit box extends this idea by creating audio variations to theoretically better the chance of paranormal interaction.

Skeptics say that interpretations of these communications are subjective, often influenced by auditory pareidolia—the tendency to discern familiar patterns, such as words, in random sounds. Despite skepticism, for many, the spirit box represents a dynamic and interactive method to engage with supposed spirit entities, offering real-time communication that distinguishes it from traditional EVP methods.
Inspired by these stories, I became invested in experimenting with radio frequencies as a “palette” for the subconscious mind. What kind of sound would a spirit box produce? Could it be coherent? Based on the videos I've watched of people using it for spirit hunting, coherence seems unlikely. But the narrative surrounding it is interesting.
Arduino Radio
To start this experiment, I had to find a way to receive radio signals. Of course, there was a way to make that. Using an Arduino microcontroller, I can receive, transmit, or control radio signals by connecting it to specific radio modules or components that allow communication over radio frequencies. Some common modules I’ve researched include:
- FM Receiver Modules: Modules like the TEA5767 or RDA5807M let me receive FM radio signals, which are great for building simple FM radios or devices that pick up broadcast stations.
- RF Modules (433 MHz or 915 MHz): Modules like the FS1000A are designed for data transmission over radio frequencies, such as 433 MHz or 915 MHz. These are useful for wireless data projects like remote control, although not for audio broadcasts.
- AM/FM Transceiver Modules: With some setups, I can use modules that receive both AM and FM signals, giving me more flexibility for experiments.
- Software-Defined Radio (SDR): For more complex projects, I can connect the Arduino to an SDR, which opens up a wide range of radio frequencies to tune into, so that I can capture various signals for digital analysis or experimentation.
Radio Wave Transmission
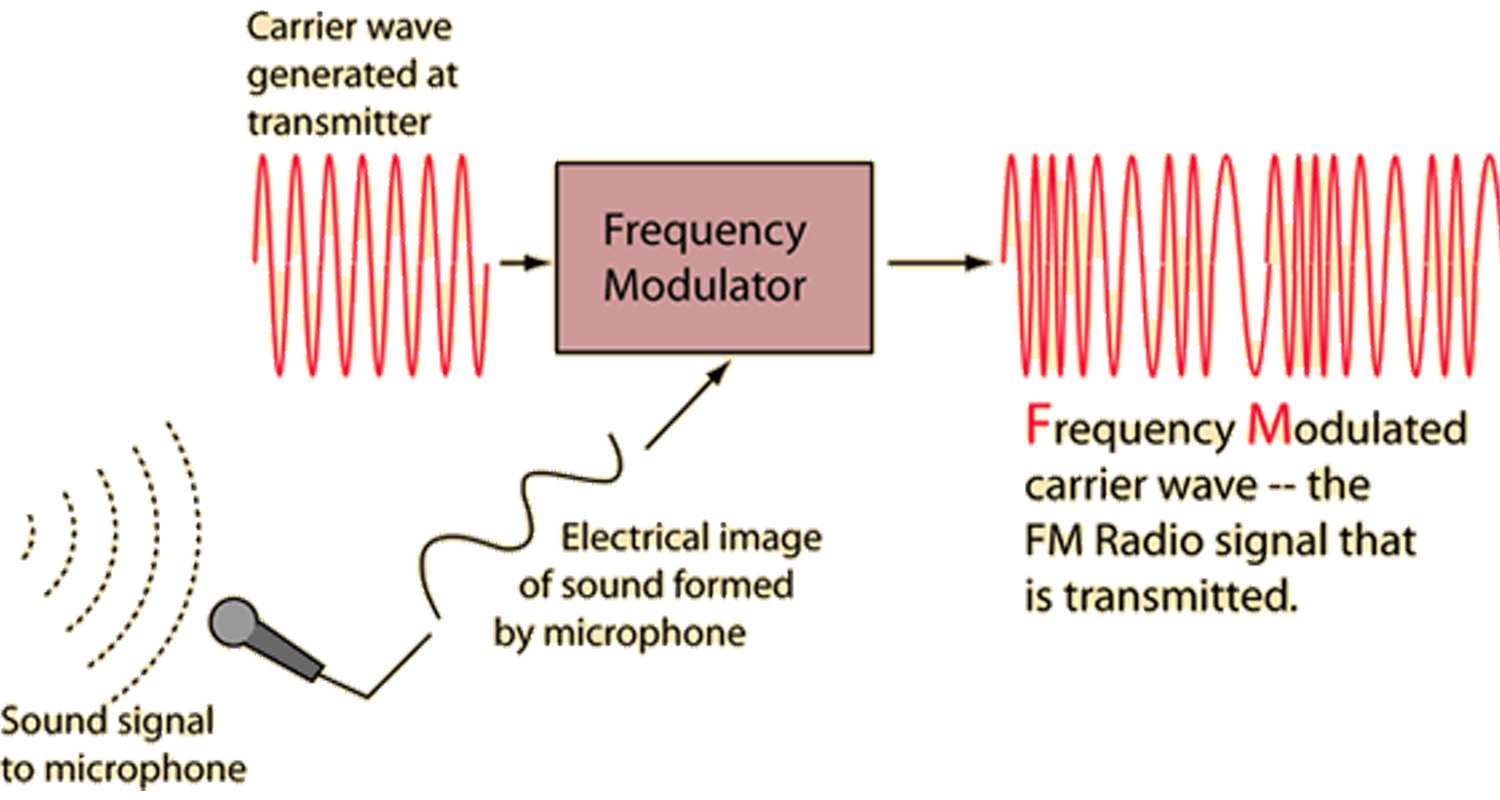
FM (Frequency Modulation)
This method encodes information by varying the frequency of the carrier wave. The frequency changes slightly based on the amplitude and frequency of the input signals (like music or voice). FM broadcasts operate in the very high frequency (VHF) range, generally between 87.5 to 108.0 MHz, which allows it to carry a higher quality of sound. This makes FM ideal for music and entertainment broadcasts because it is less prone to noise and static interference.
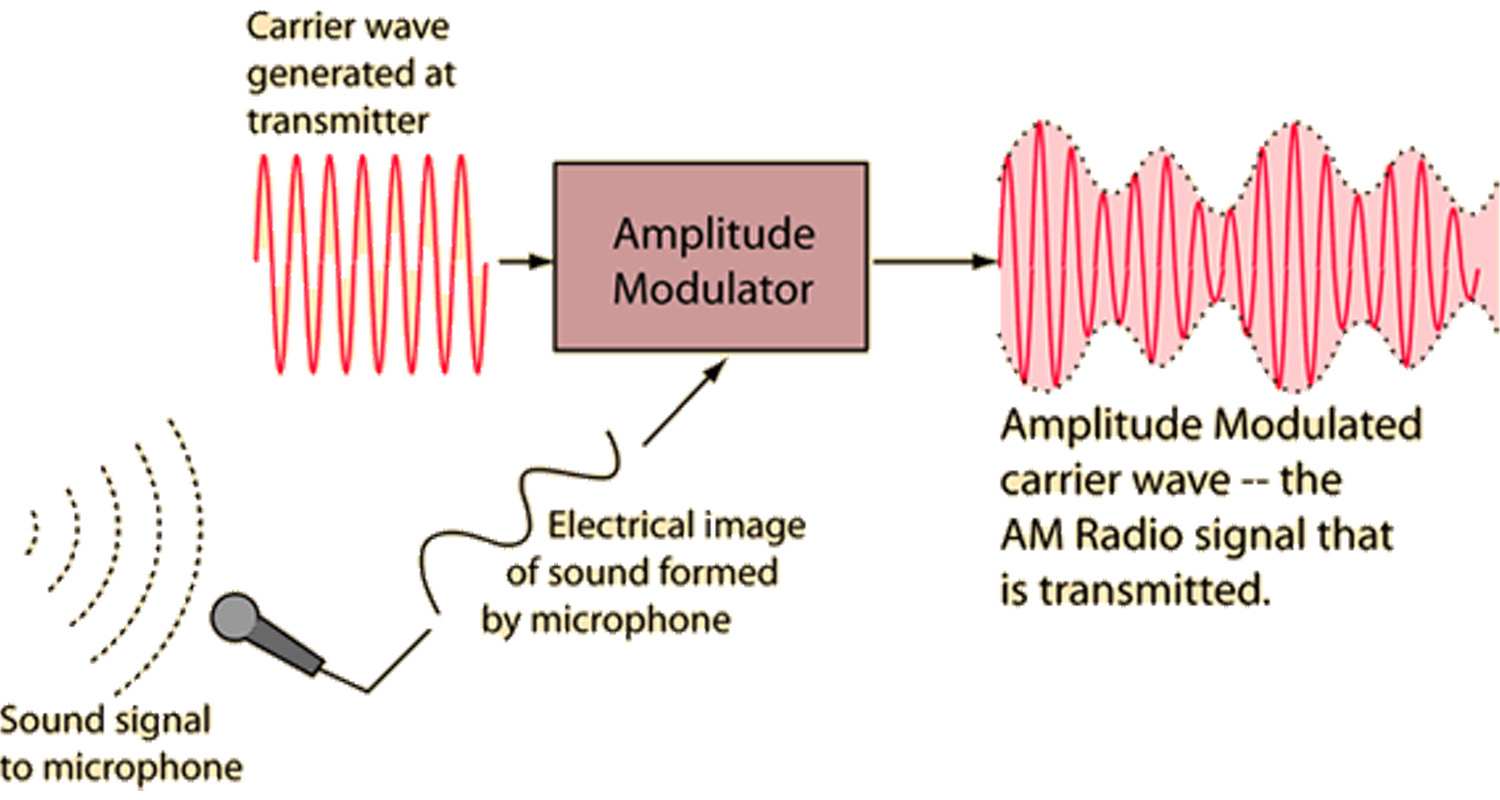
AM (Amplitude Modulation)
AM transmits sound by altering the amplitude of the carrier wave while keeping the frequency constant. This allows AM signals to reach further distances than FM because amplitude waves are less affected by slight frequency variations. However, this makes AM more susceptible to static and noise, which can affect the clarity of the sound, especially during poor atmospheric conditions.
FM Receiver Modules
FM (Frequency Modulation)
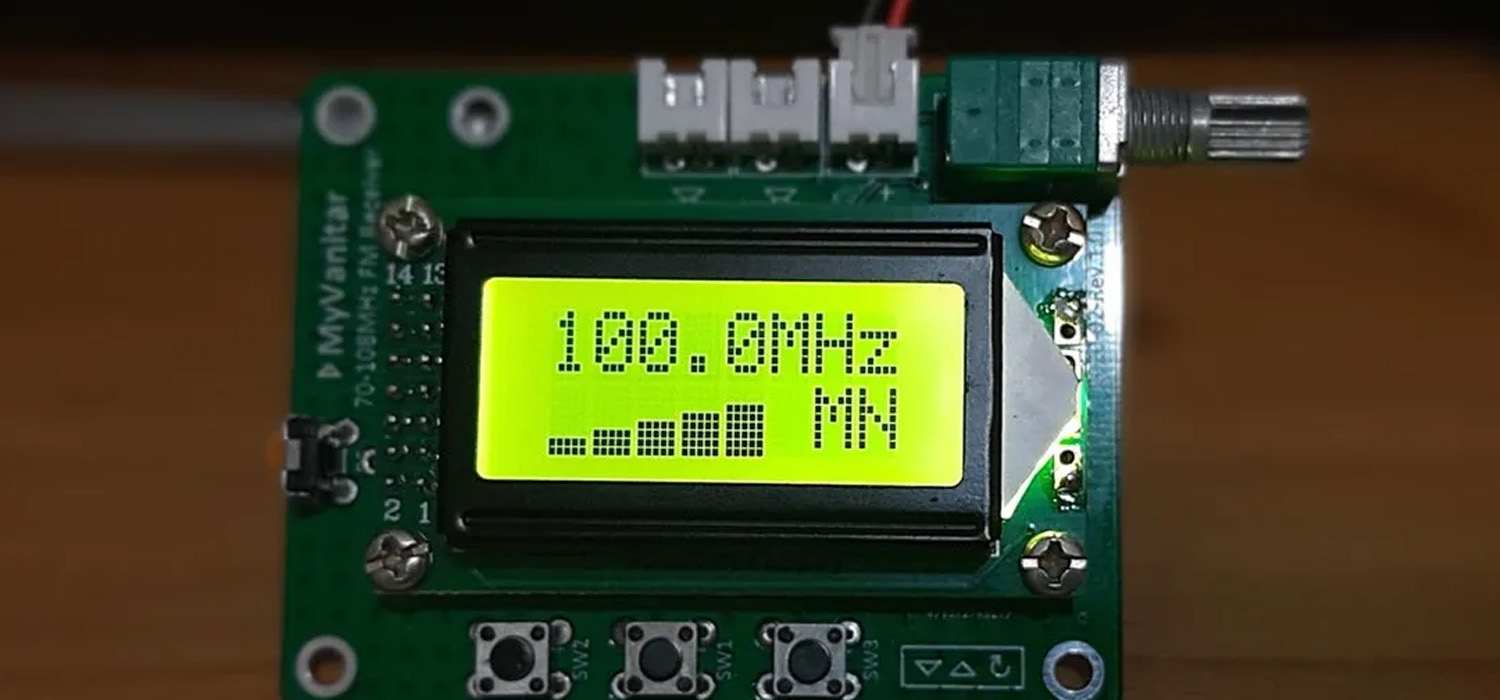
FM receiver modules are compact devices that let electronic projects receive FM radio signals. These are particularly useful in hobbyist projects for adding radio functionality. When integrated with platforms like Arduino, these modules can decode FM radio signals and allow the device to interact with audio content dynamically. This can range from simple tasks like changing stations with buttons to more complex interactions like adjusting outputs based on the specific type of broadcast content.
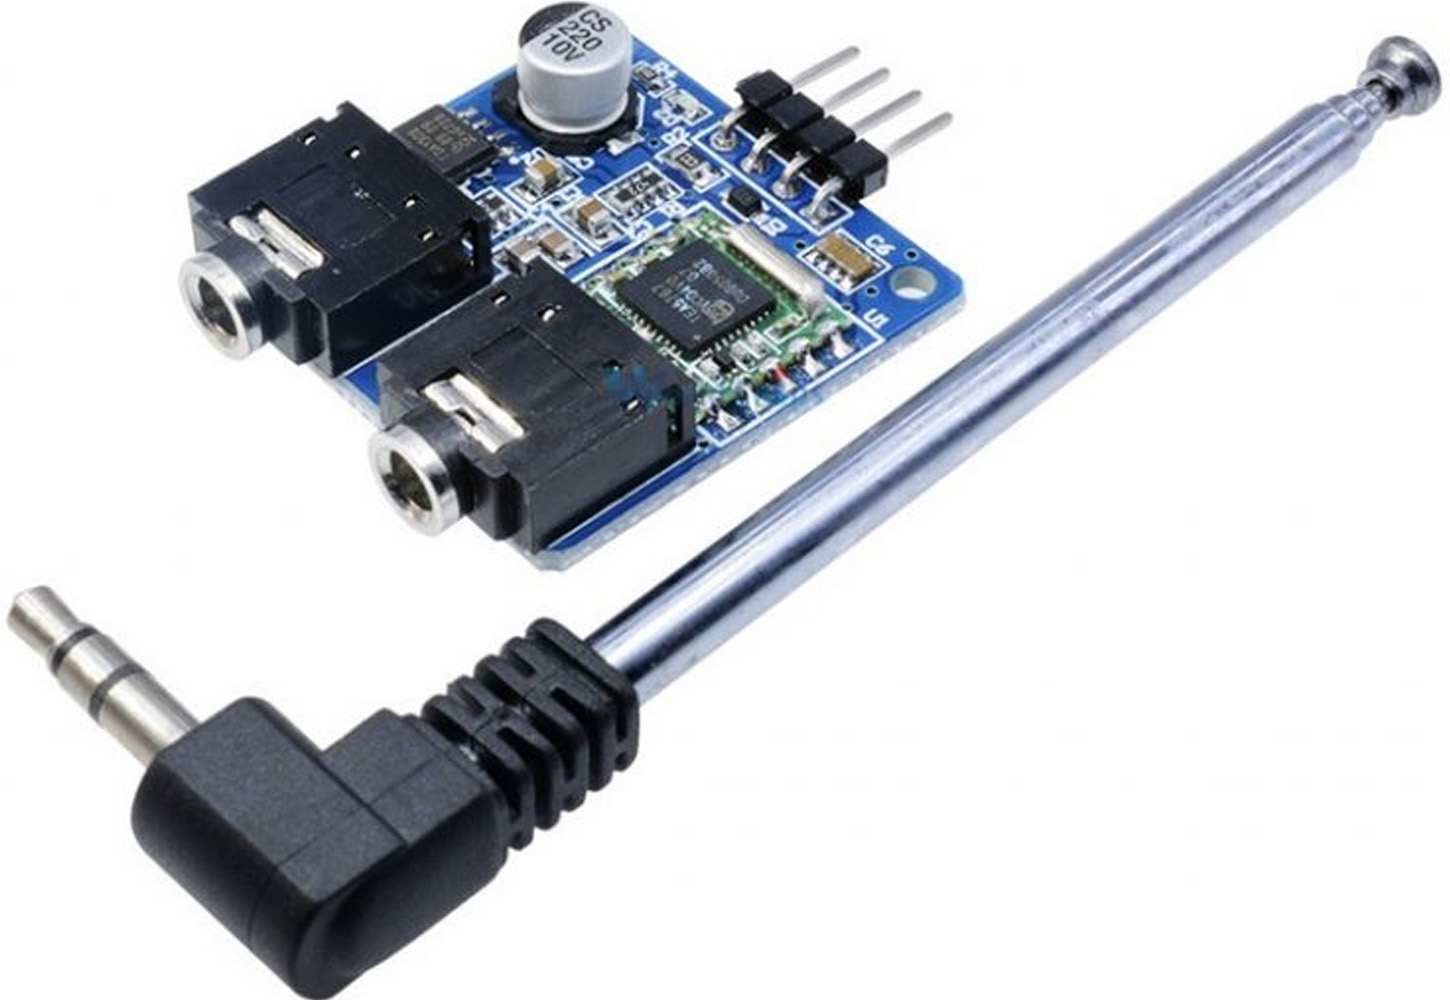
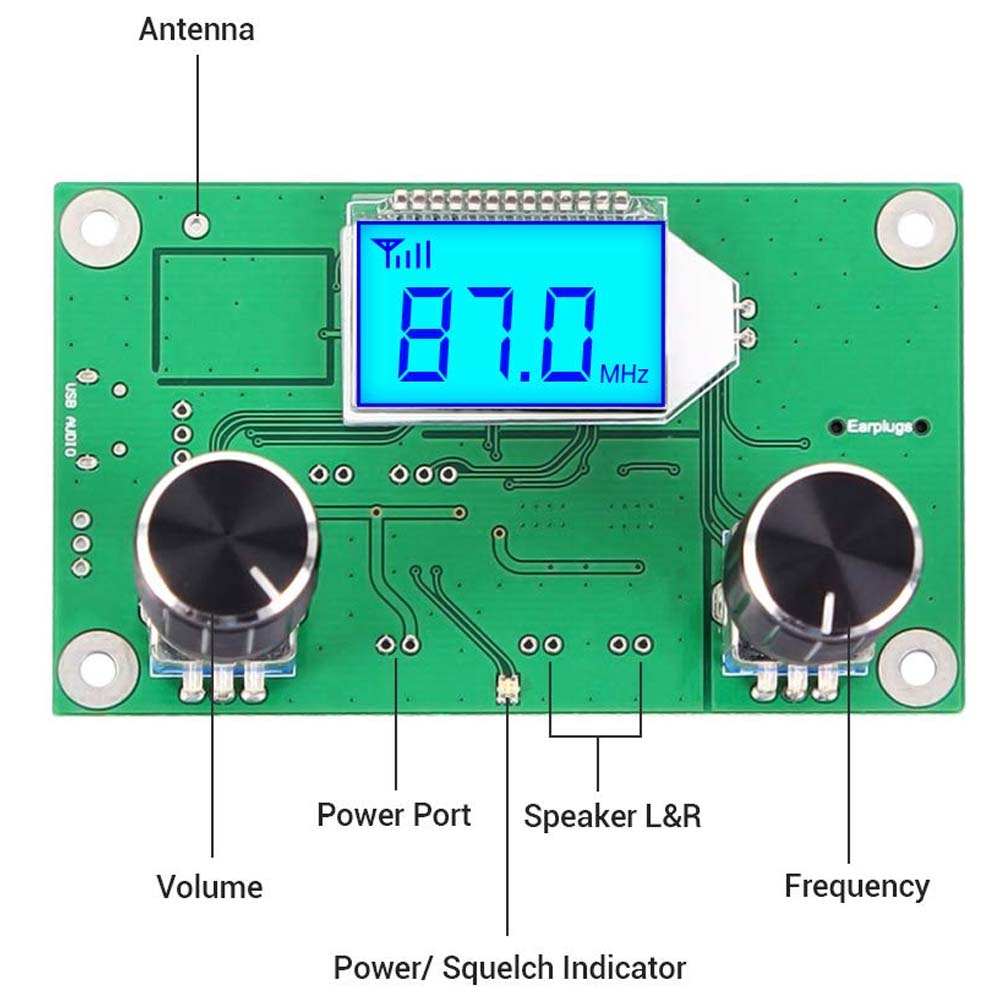
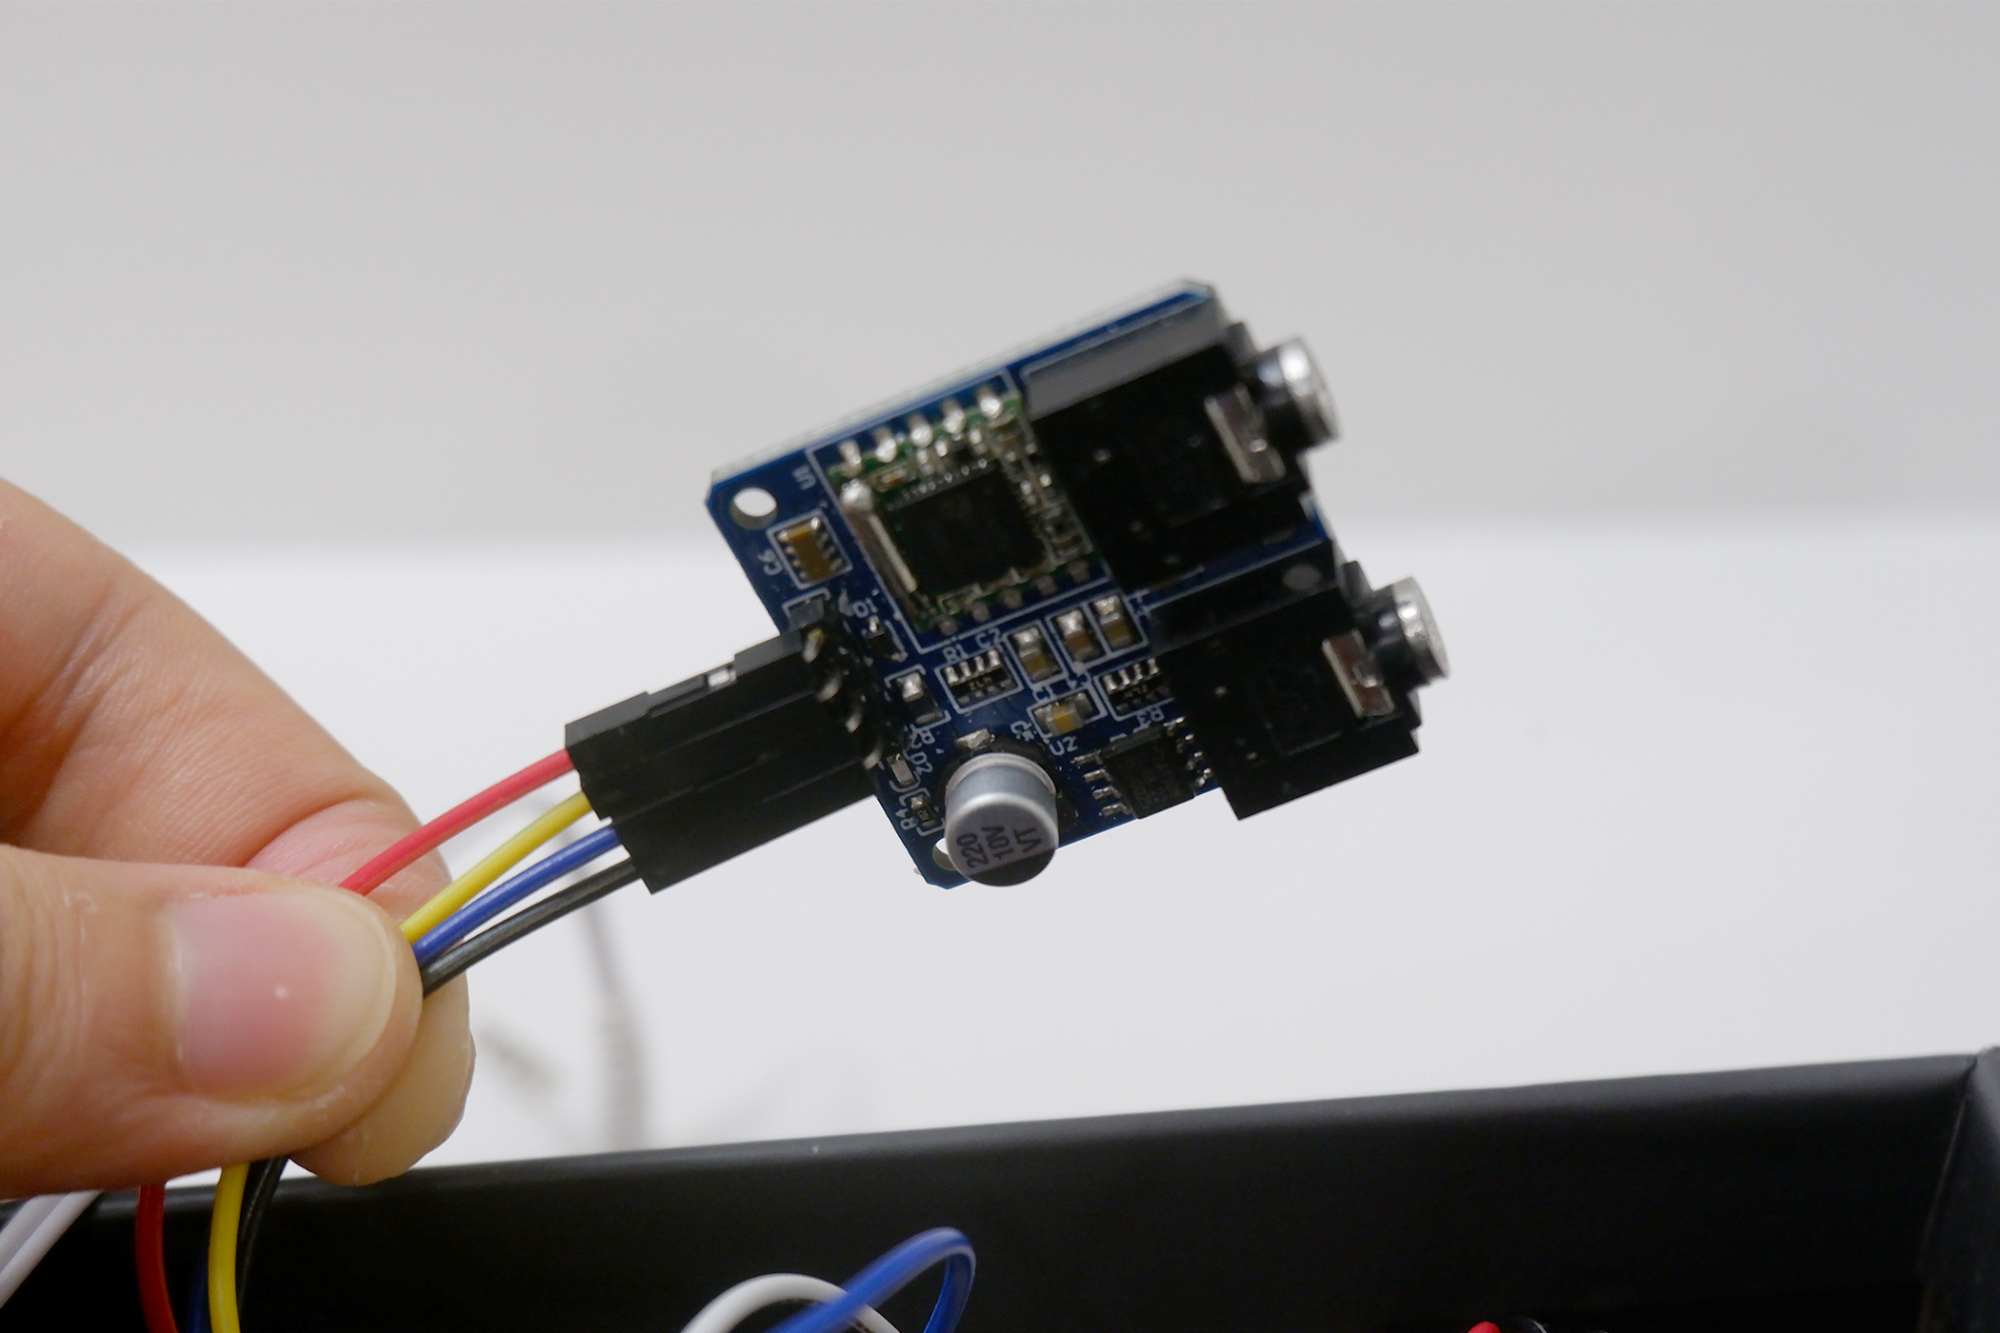
TEA5767
The TEA5767 is an FM receiver module favored for its simplicity and effectiveness. It stands out for a lot of reasons, but mostly because it's a highly integrated circuit requiring minimal external components, making it easy to integrate with Arduino boards. It supports automatic frequency control and station search, which simplifies the process of setting up and using the radio capabilities. It effectively handles all the complex aspects of FM reception and tuning, so that creators can focus on other parts of their project.
In my case, it fits well for my experiment, where I want to use live broadcast audio. Since my project involves scanning and manipulating audio frequencies from standard FM radio broadcasts, these would be the most suitable choice.
They also have straightforward access to FM radio bands, which can be tuned and processed by me. Manipulating this data in real-time would be possible by adjusting the tuner settings based on incoming OSC commands to change stations, among other parameters.
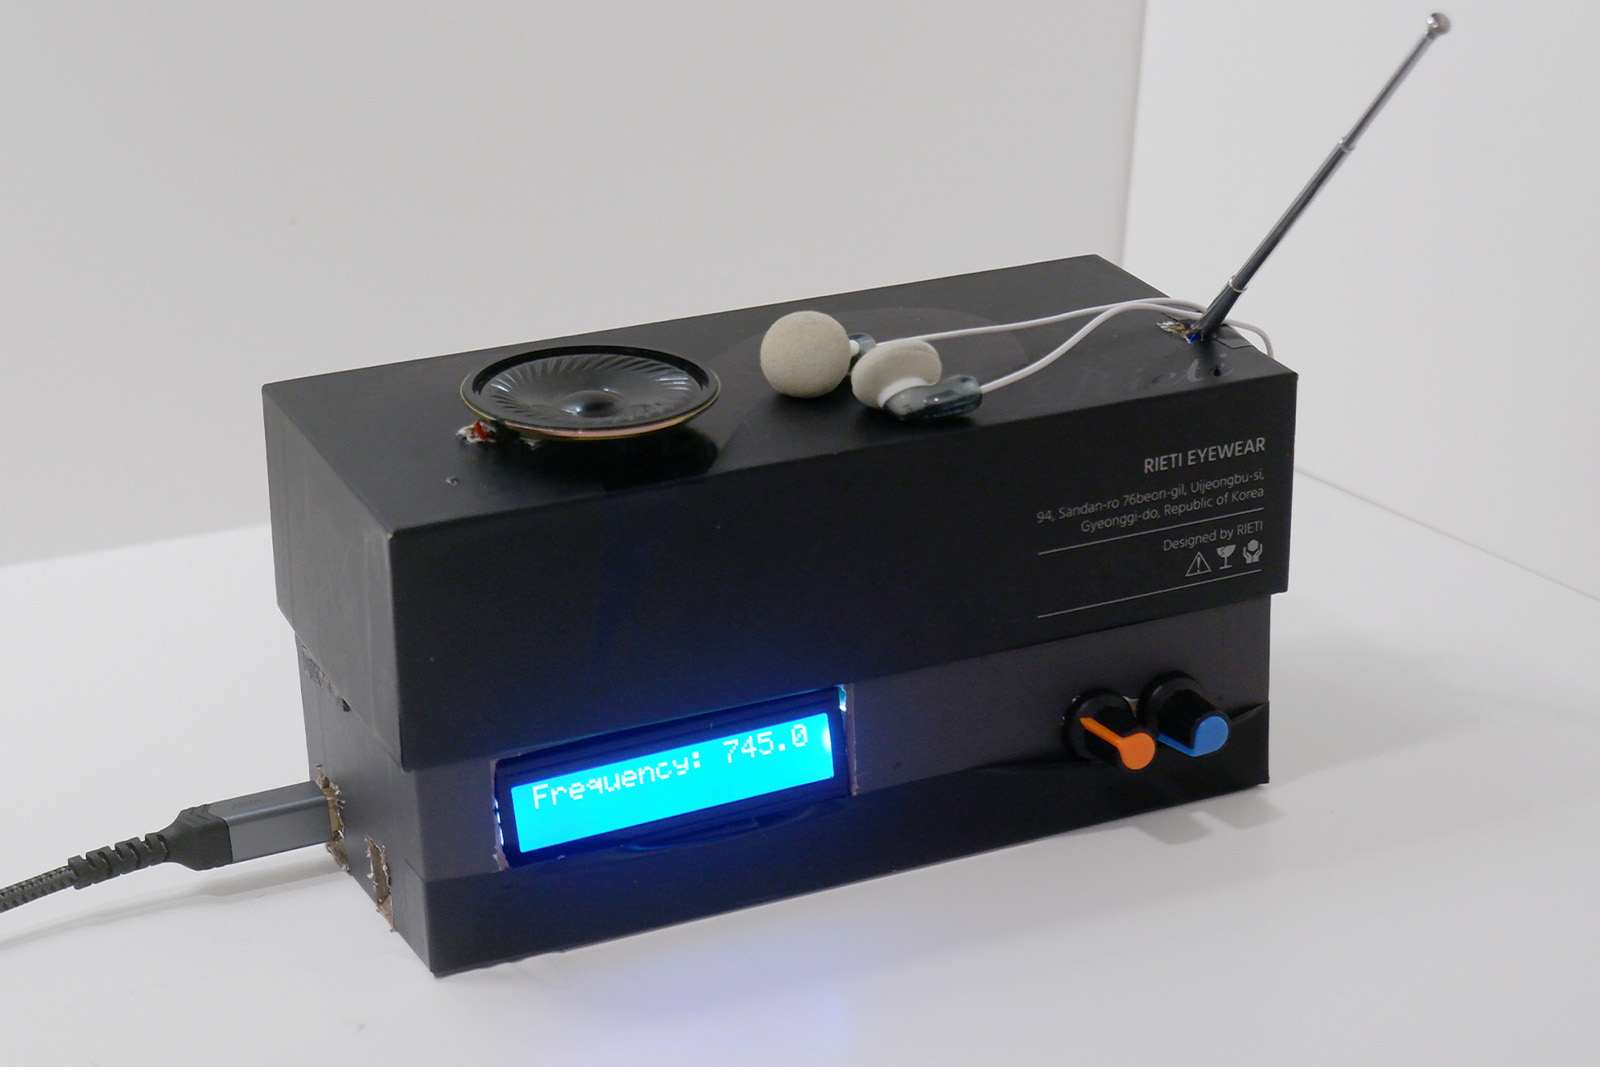
Making
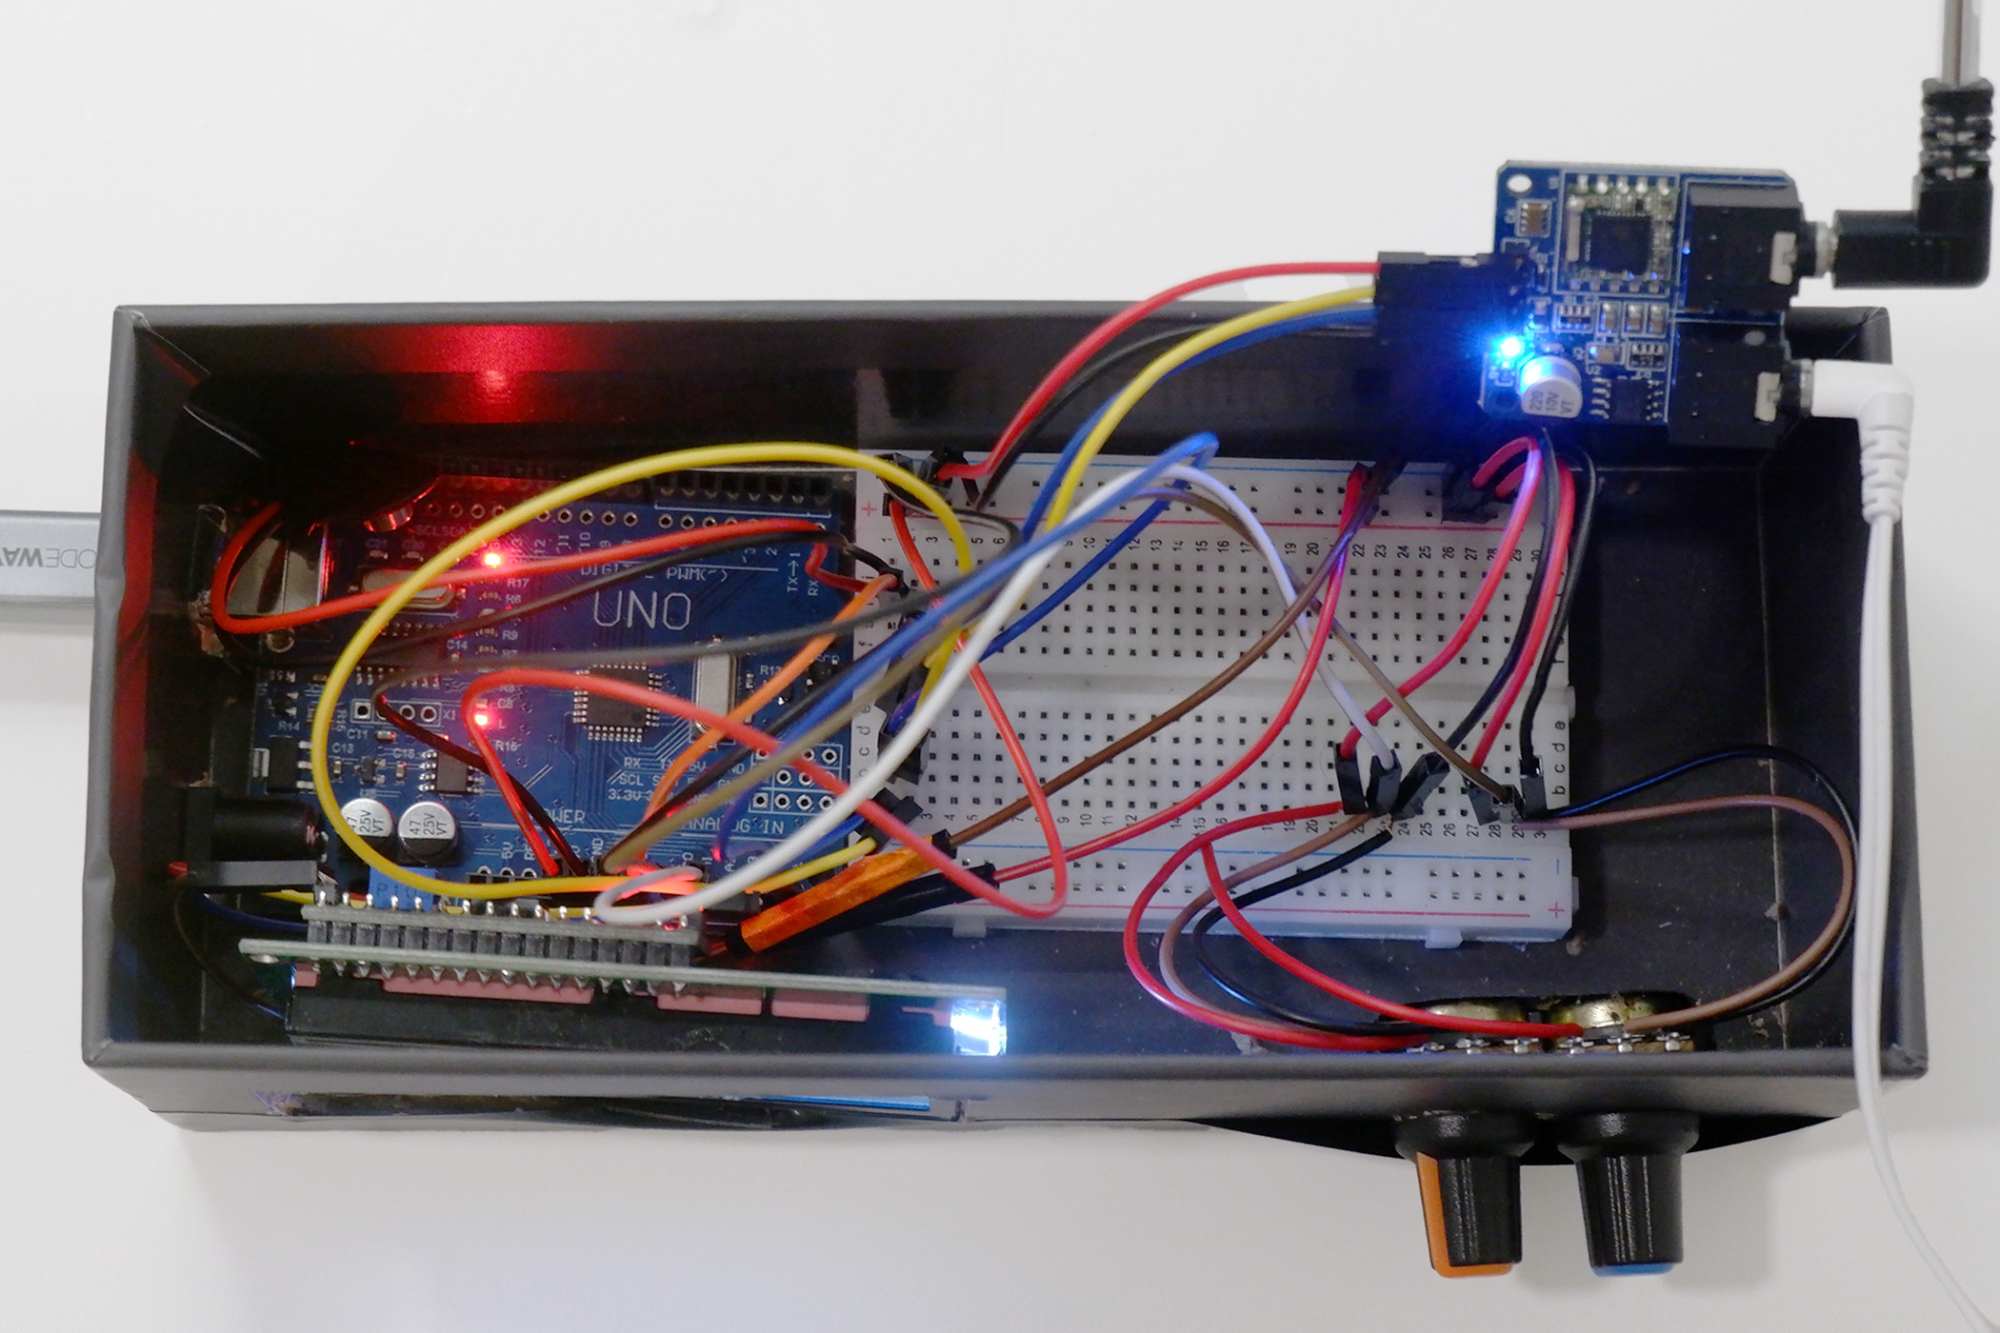
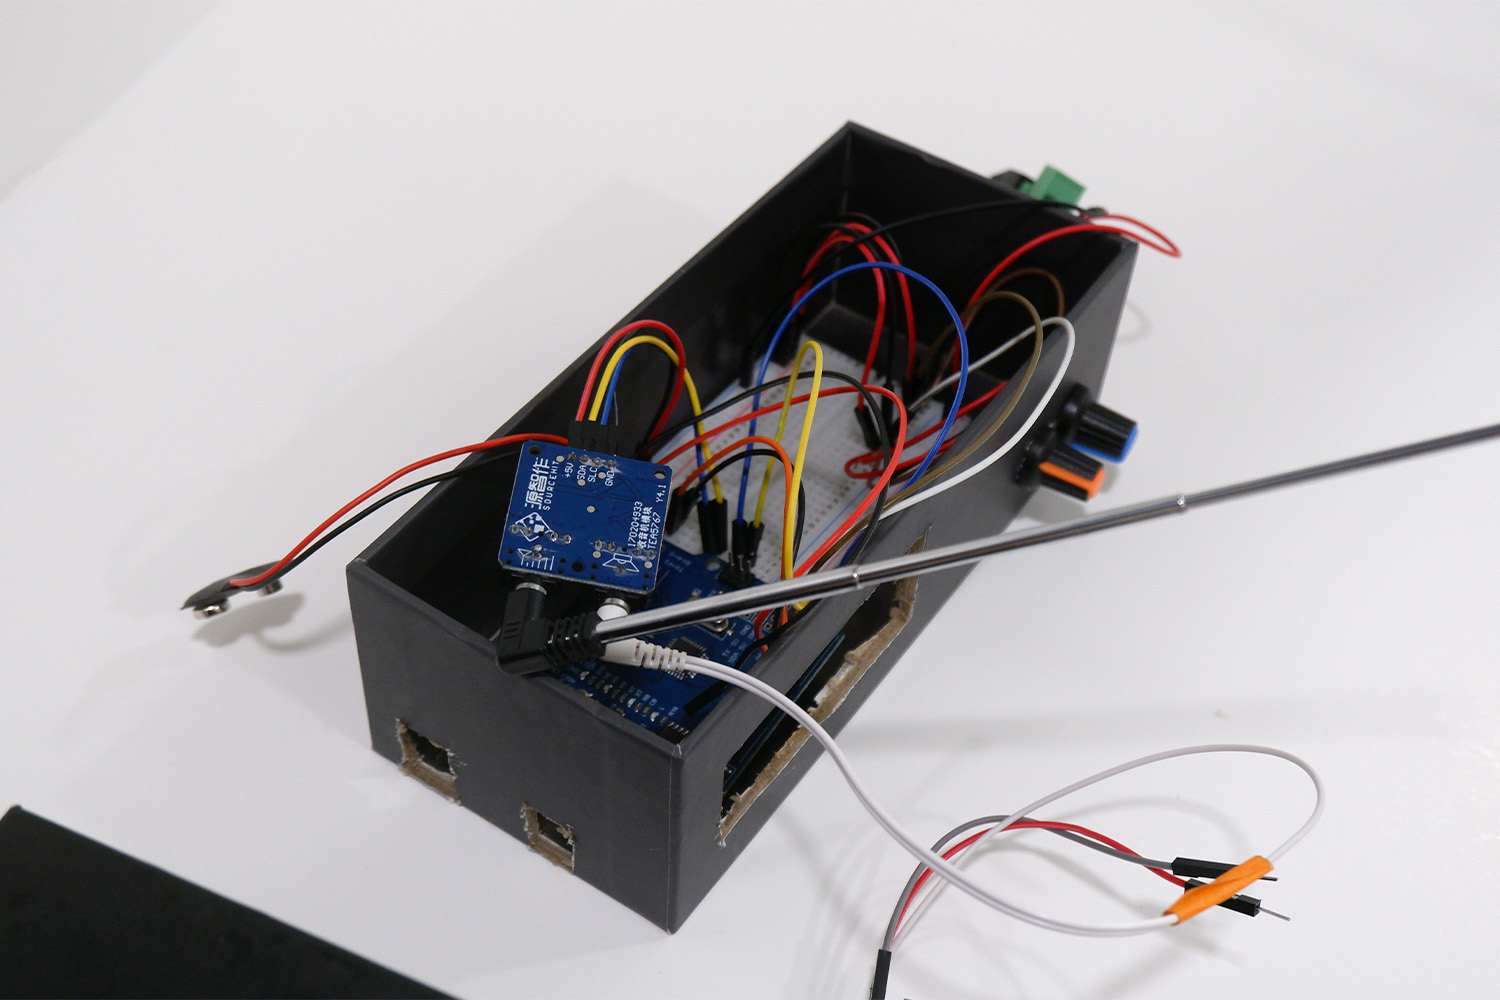
I set out to build an FM radio where the frequency is controlled through an Arduino, the audio signal is amplified with an amplifier module, and the sound is output through a speaker. For volume and frequency control, I used potentiometers for the purpose of debugging when testing the frequency, which are also managed by the Arduino. I placed the Arduino and the breadboard at the bottom of a box and drilled holes for the LCD, potentiometer knob, speaker, and Arduino jack so that they are accessible from the outside.
Materials include: An Arduino board (in my case, an Uno), TEA5767 FM radio module Amplifier module (in my case, PAM8403), Speaker, Two 10kΩ potentiometers, I2C LCD (16×2), Jumper wires
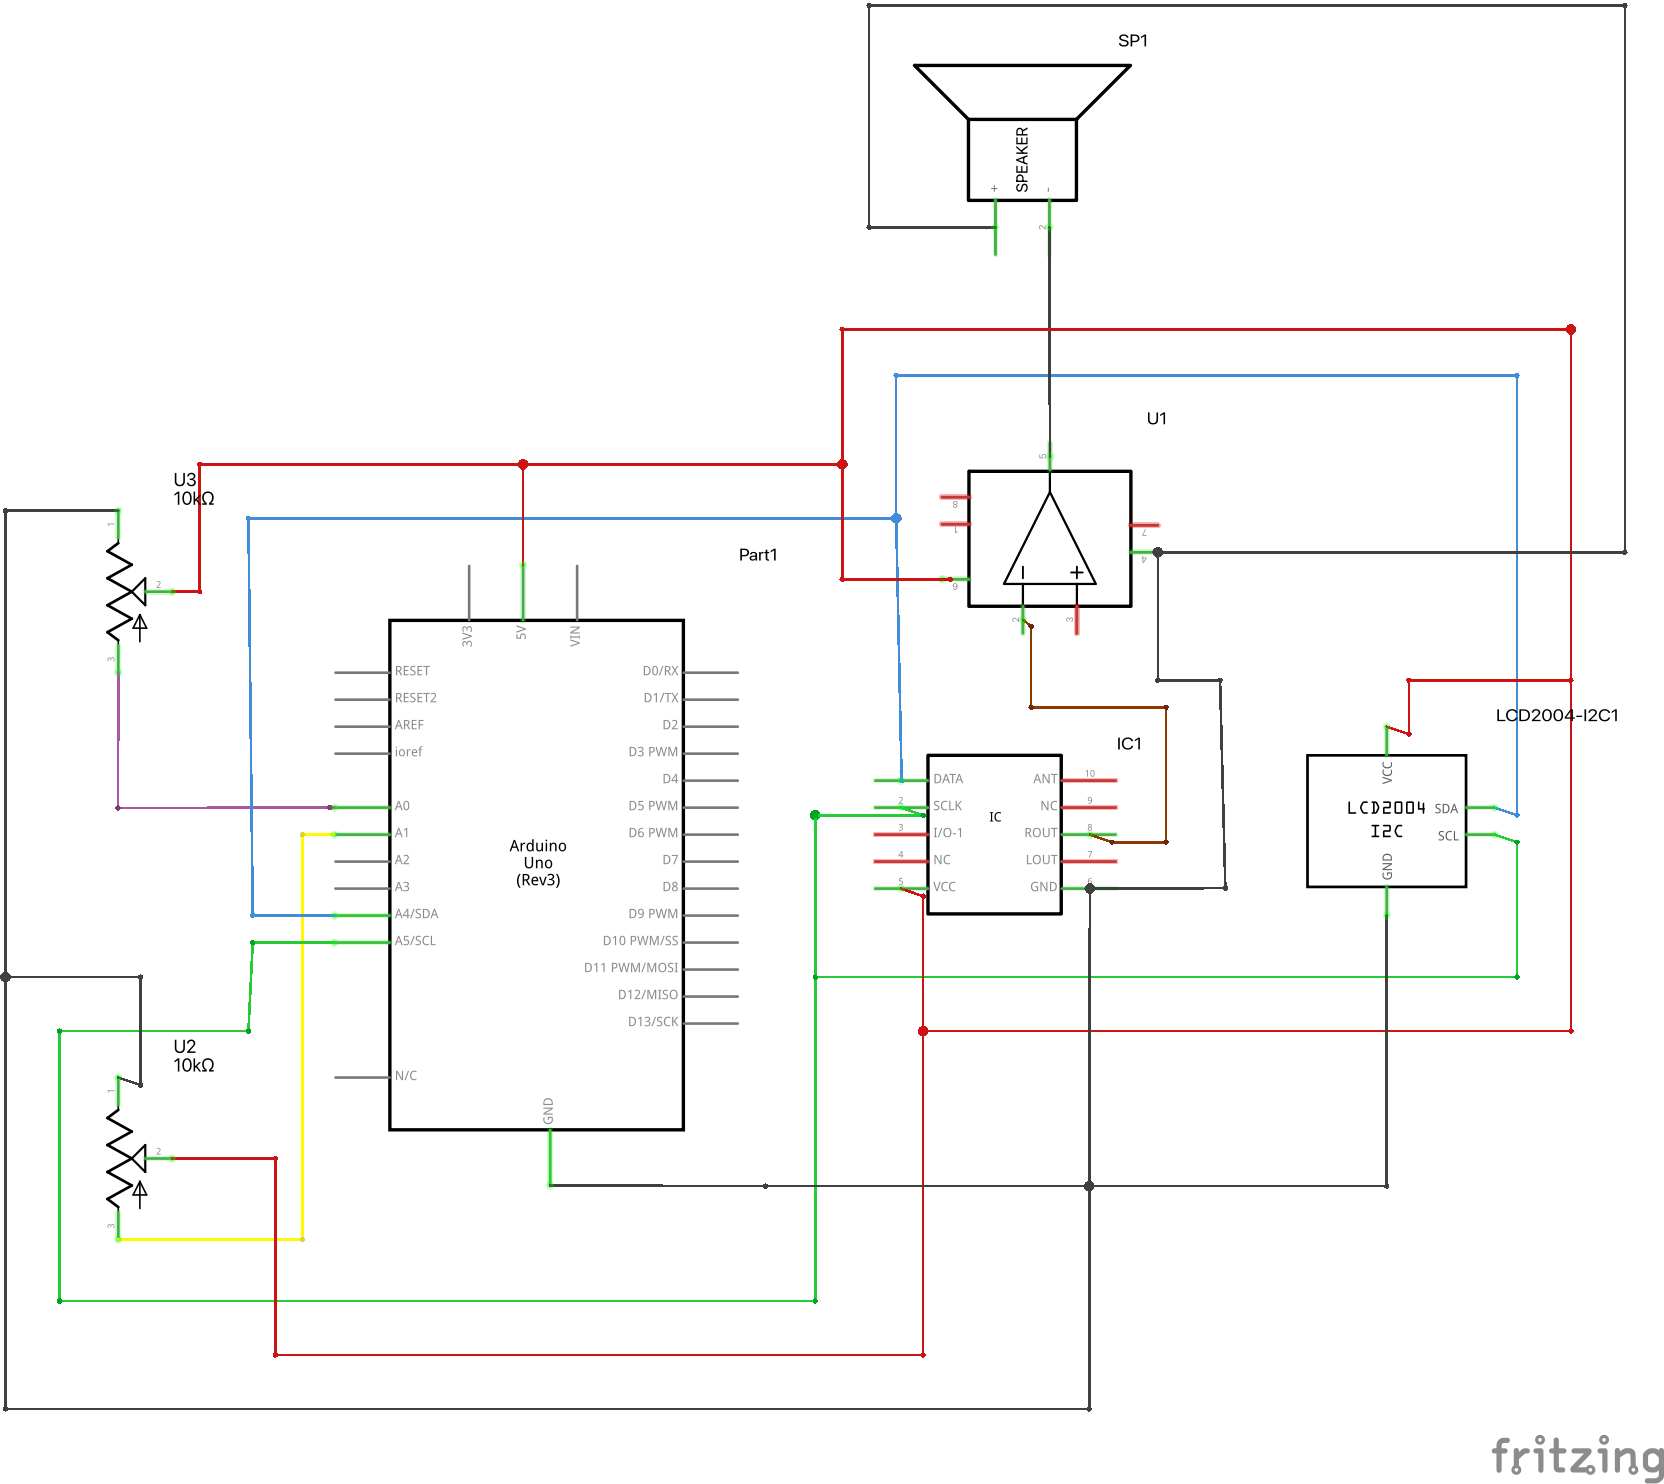
For the circuitry, I referred to several different tutorials online that also used the TEA5767 module.
- TEA5767 ↔ Arduino: I2C for frequency control
- Potentiometers ↔ Arduino: Inputs for volume and frequency adjustment
- Amplifier & Speaker ↔ TEA5767: Audio output
- LCD ↔ Arduino: I2C for displaying frequency and status
Afterthought
FM receiver modules are compact devices that let electronic projects receive FM radio signals. These are particularly useful in hobbyist projects for adding radio functionality. When integrated with platforms like Arduino, these modules can decode FM radio signals and allow the device to interact with audio content dynamically. This can range from simple tasks like changing stations with buttons to more complex interactions like adjusting outputs based on the specific type of broadcast content.